The camera modes for Architecture Photography
Apart from the amateurish motive programs and beginner modes, modern cameras offer different settings for exposure control. In architecture and real estate photography it is advisable to use the manual mode M almost always. All common modes are explained below for an overview.

Fully automatic: Auto or A+ dial (often a green symbol)
All three parameters (time, aperture, ISO) are set automatically. The camera detects dark situations independently and if necessary brightens the picture automatically with the integrated flash. The camera tries to find a compromise between the different requirements. On the one hand, usually the shortest possible exposure time is chosen to prevent shaking of the image. On the other hand, the aperture is closed slightly to achieve a high depth of field and thus avoid blurring. At the same time, the camera tries not to set the ISO sensitivity unnecessarily high and the flash will pop out.
In the case of fully automatic exposure, the image is correctly exposed from a technical point of view, but it is more subject to chance whether the later result corresponds to one's own imagination.
Fully automatic without flash
This function is symbolized on the dial by a crossed-out flash. Basically, this function is the same as normal full auto, except that the camera does not allow flash. This prevents a "dead-flashing" of the image. However, it is not recommended to use this mode in low light conditions, as the camera often selects a short exposure time and the ISO is therefore relatively high, which can have a negative effect on image quality by producing visible noise. For absolute beginners in photography, this mode is well suited to allow them to concentrate on image composition at first and not be distracted too much by the technique.
Automatic program (with ISO preselection): Dial P
With this automatic function, the ISO value is set manually. The exposure time and aperture value change fully automatically, similar to full auto mode. The flash does not operate automatically in this mode, but can be added if necessary. In addition, a preference can be set whether a fast shutter speed or a closed aperture should be preferred (P-Shift). But the bottom line is that the automatic system is decisive, since the preference cannot be programmed to a specific value.
Under optimal lighting conditions, it can be useful to shoot in P mode to get the best possible image quality and sensor sharpness without sacrificing the convenience of the automatic function.
Aperture priority & Auto Time: Dial A or Av
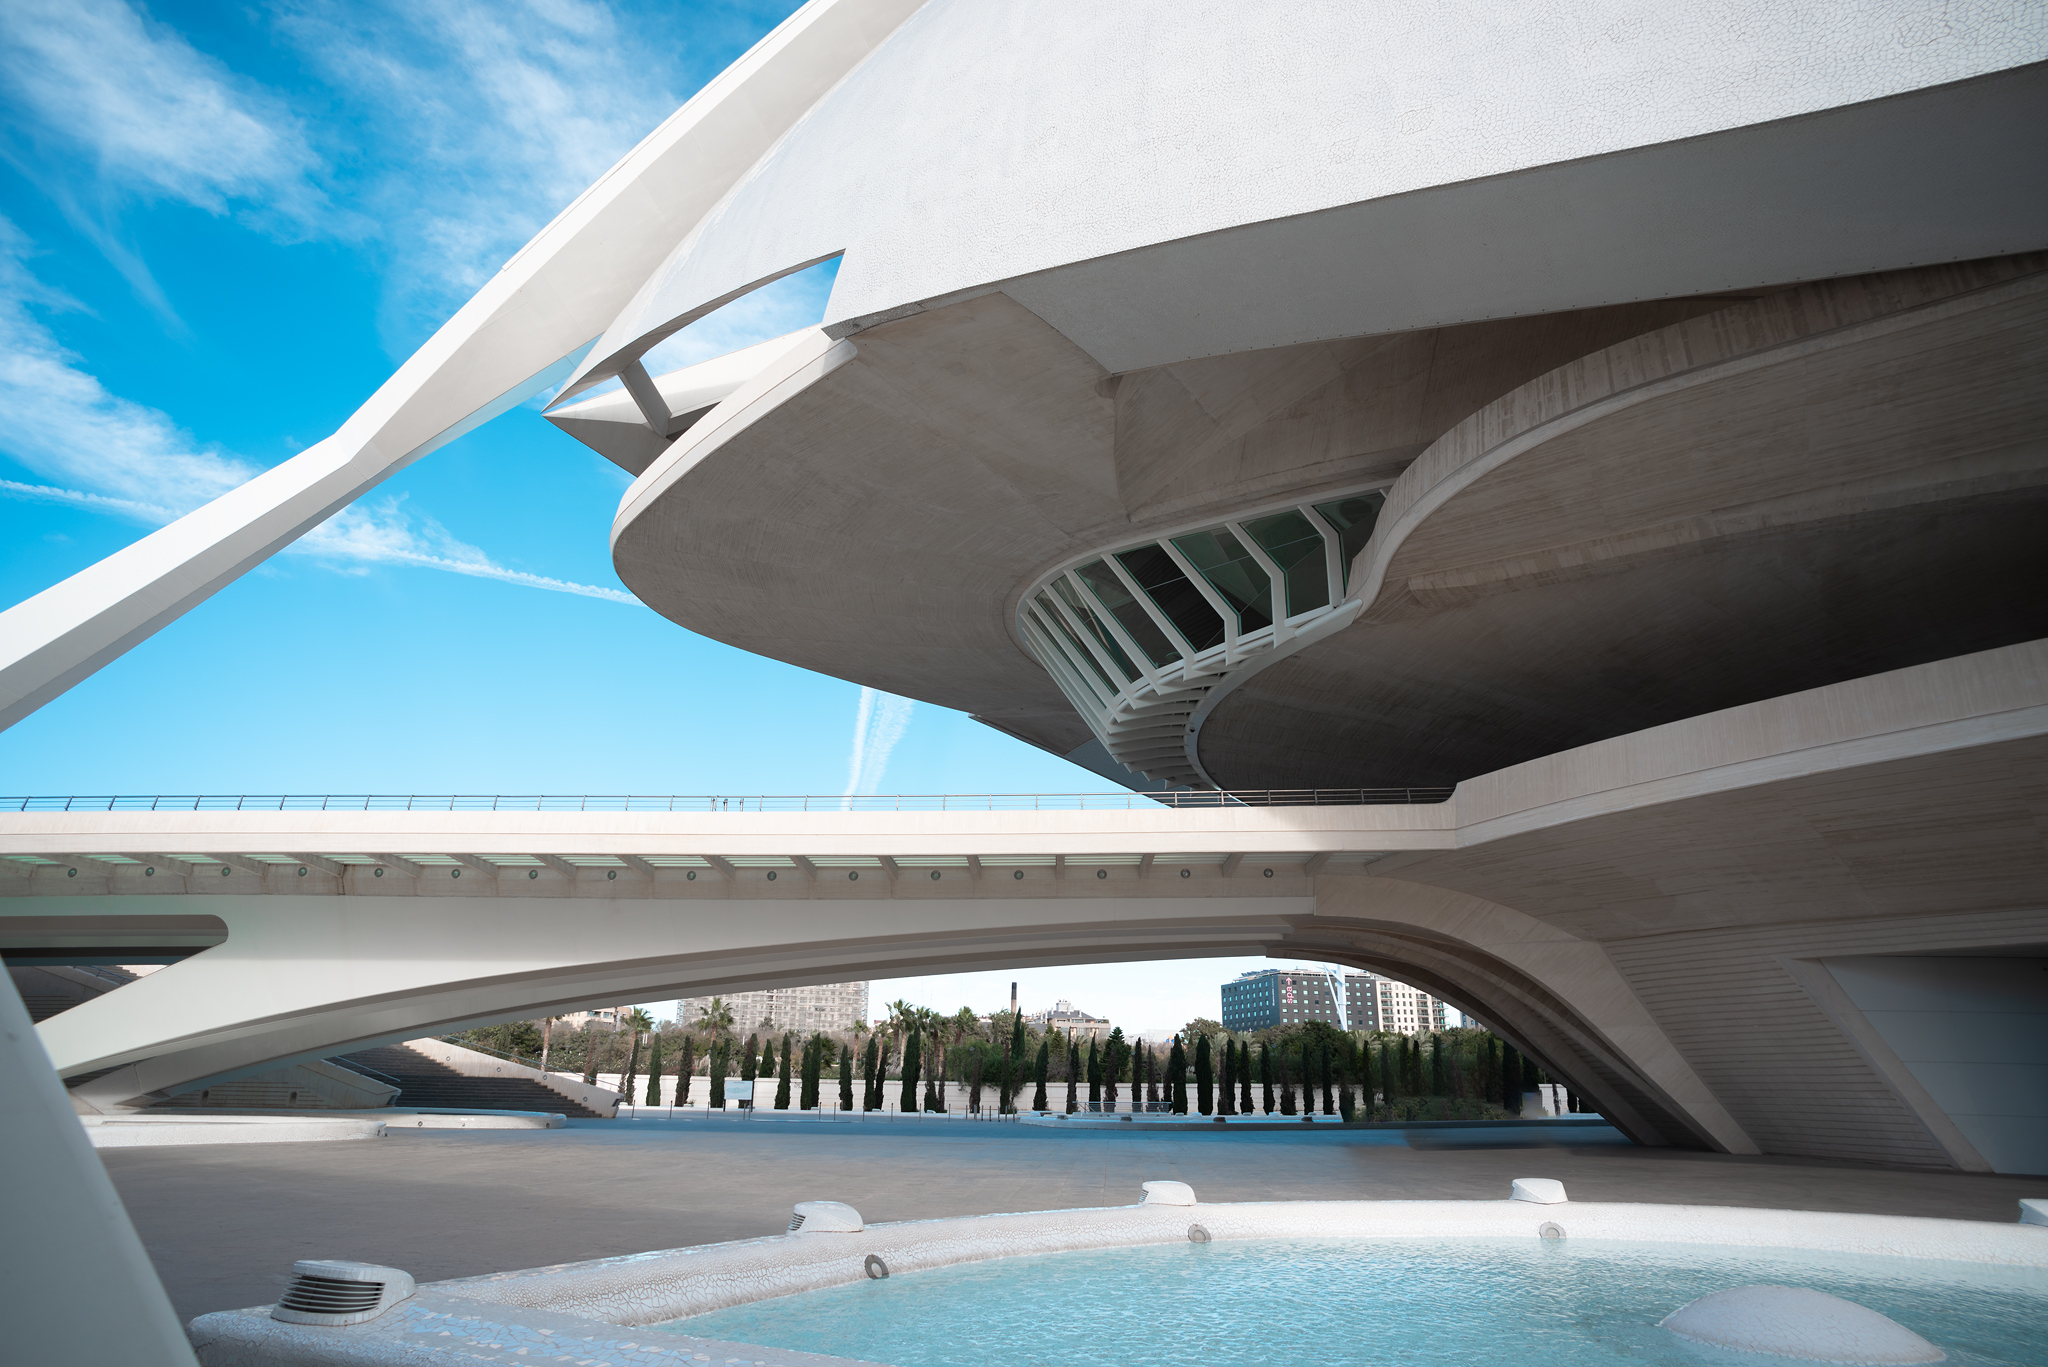
Since the aperture is an essential design tool due to its effect on depth of field, it is recommended to use the automatic aperture control in some situations. This semi-automatic function ensures that the camera selects the exposure time for the correct exposure. In this semi-automatic mode, the exposure time is automatically determined at a pre-set aperture. If the blur or depth of field is the essential design element in an image, it is recommended to select the aperture preselection. For portraits with a blurred background, for example, a value of f/2.8 has proven to be useful. For landscape photography, however, a high depth of field is often desired. The setting with an aperture value of f/8 is relatively popular here, as many zoom lenses have their maximum sharpness here. The ISO value for this function is usually fixed by default, but some cameras offer the possibility to add an ISO automatic in any mode. If a quick and fast workflow is required the A-mode may be used in architectural and real estate photography as well.
Time Priority & Auto Aperture: S or Tvdial
In this mode, the exposure time is fixed in the same way as the aperture preselection. The aperture is automatically determined by the camera. This mode is useful when exposure time is the main aspect of image composition. This is the case, for example, when fast movements are to be "frozen" by a very fast shutter speed (e.g. water splashes) or moving objects are to appear blurred by a slightly slower shutter speed to make movements visible (e.g. ghost effect on passers-by).
All the fully and semi-automatic modes have the advantage that pictures can be taken very quickly and spontaneously under changing lighting conditions. Furthermore, there is the possibility of exposure correction: Thus, a presetting can be made that takes pictures that are slightly overexposed or underexposed. This is useful for some subjects, as the exposure determined by the camera may not be appropriate for the subject.
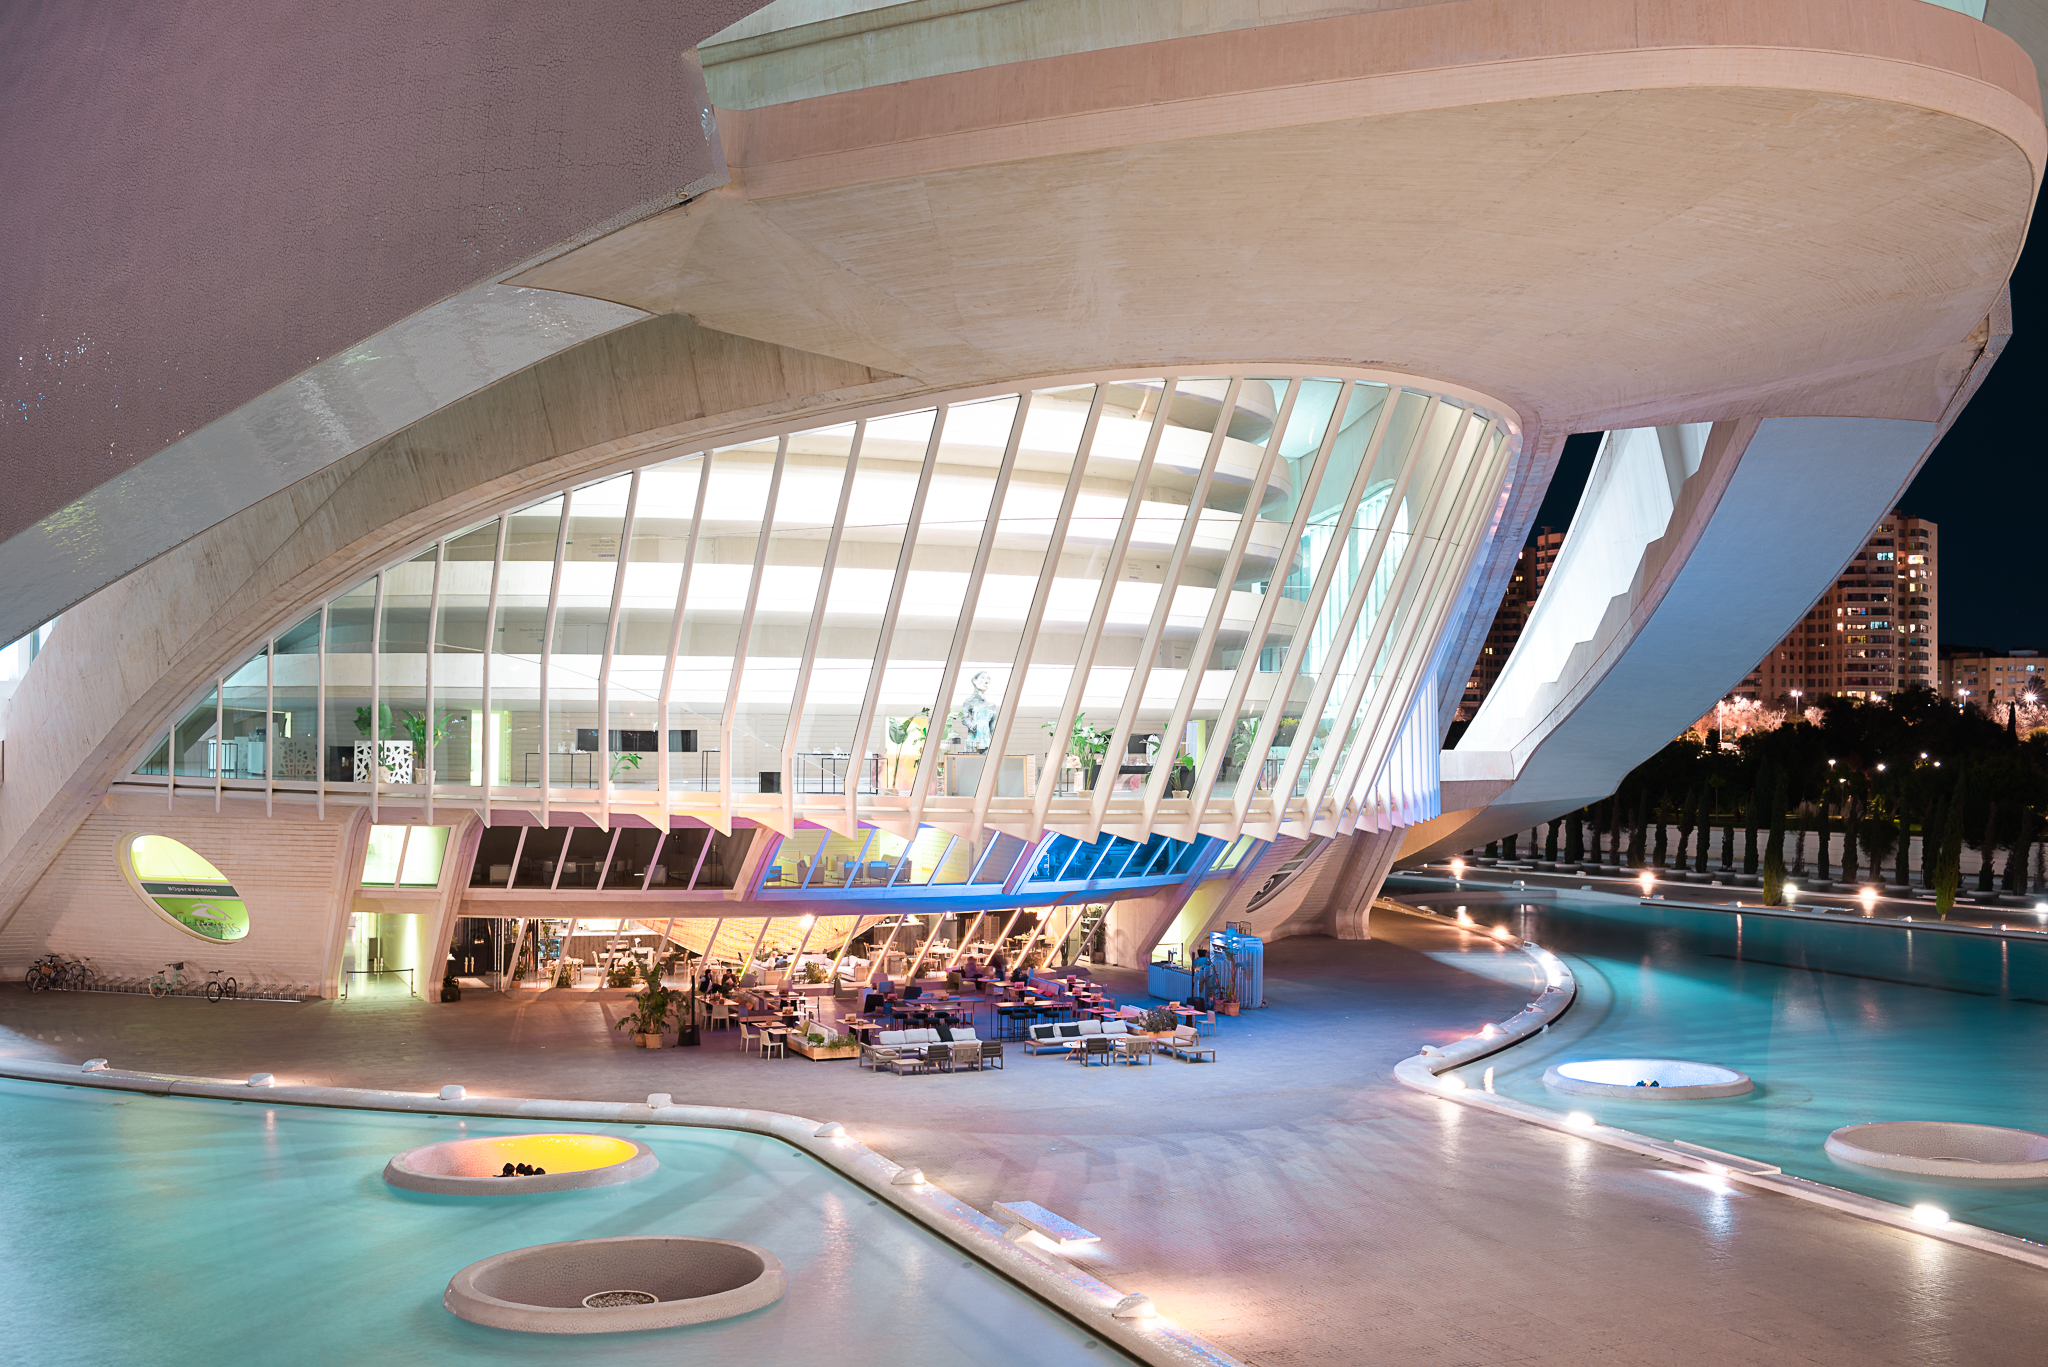
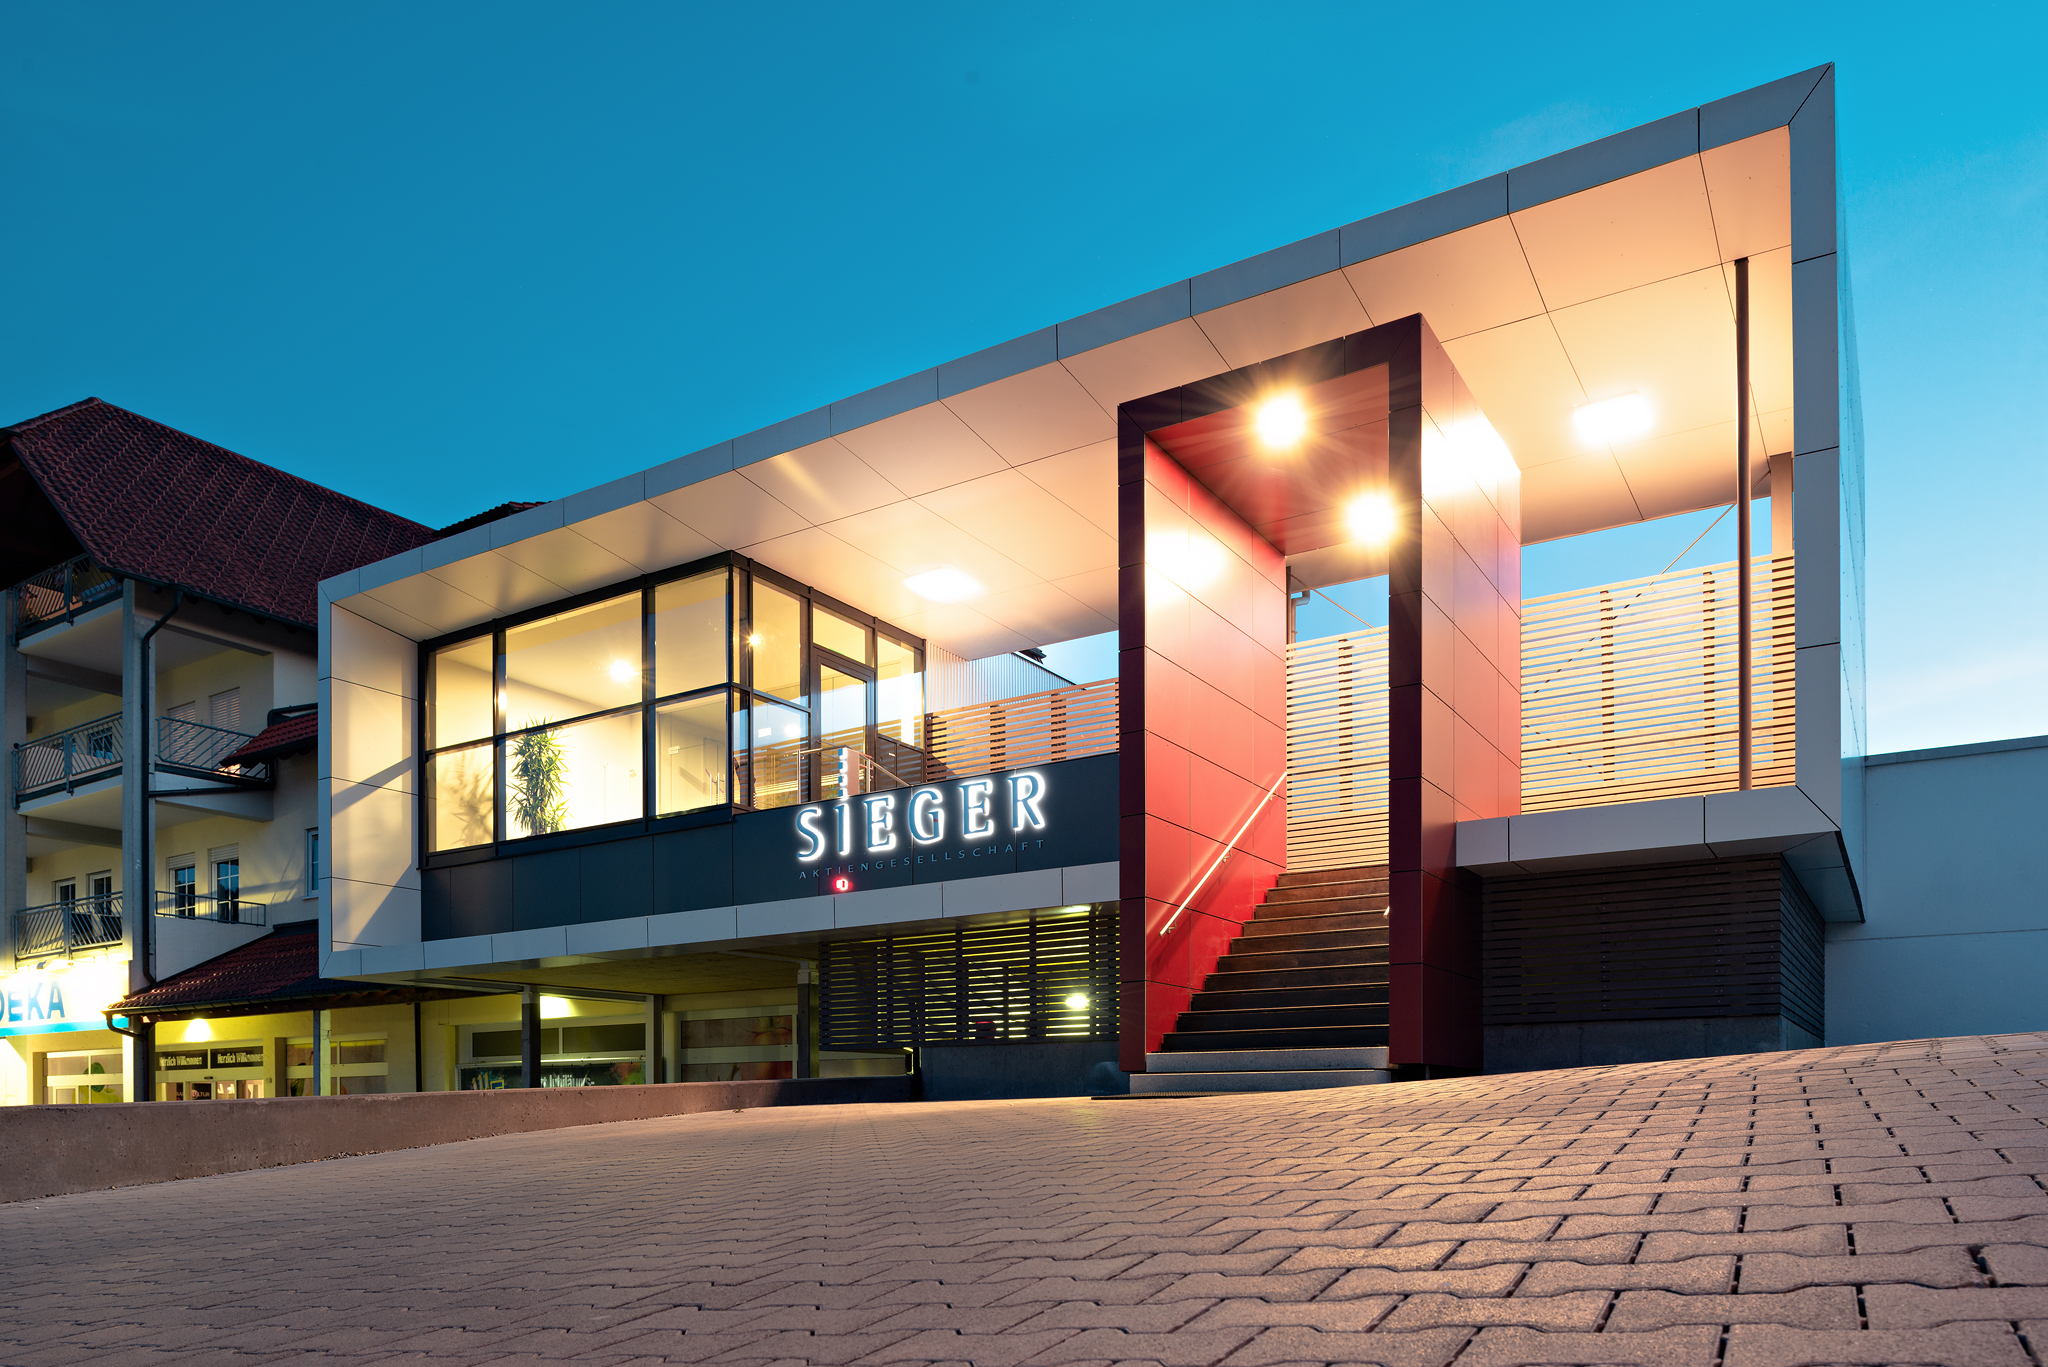
Manual Mode: Dial M
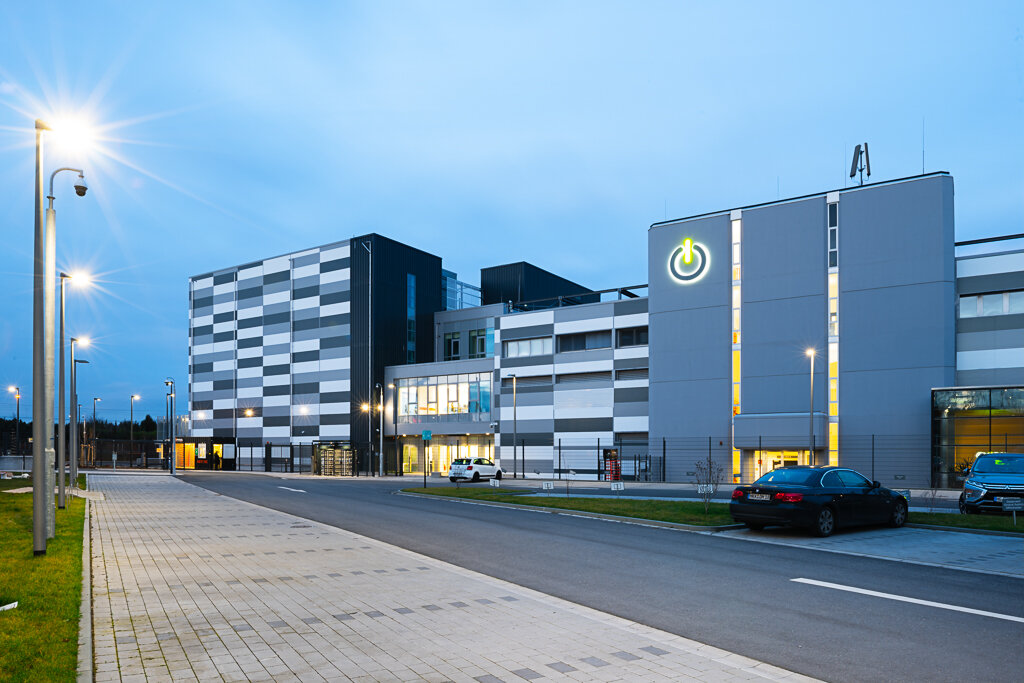
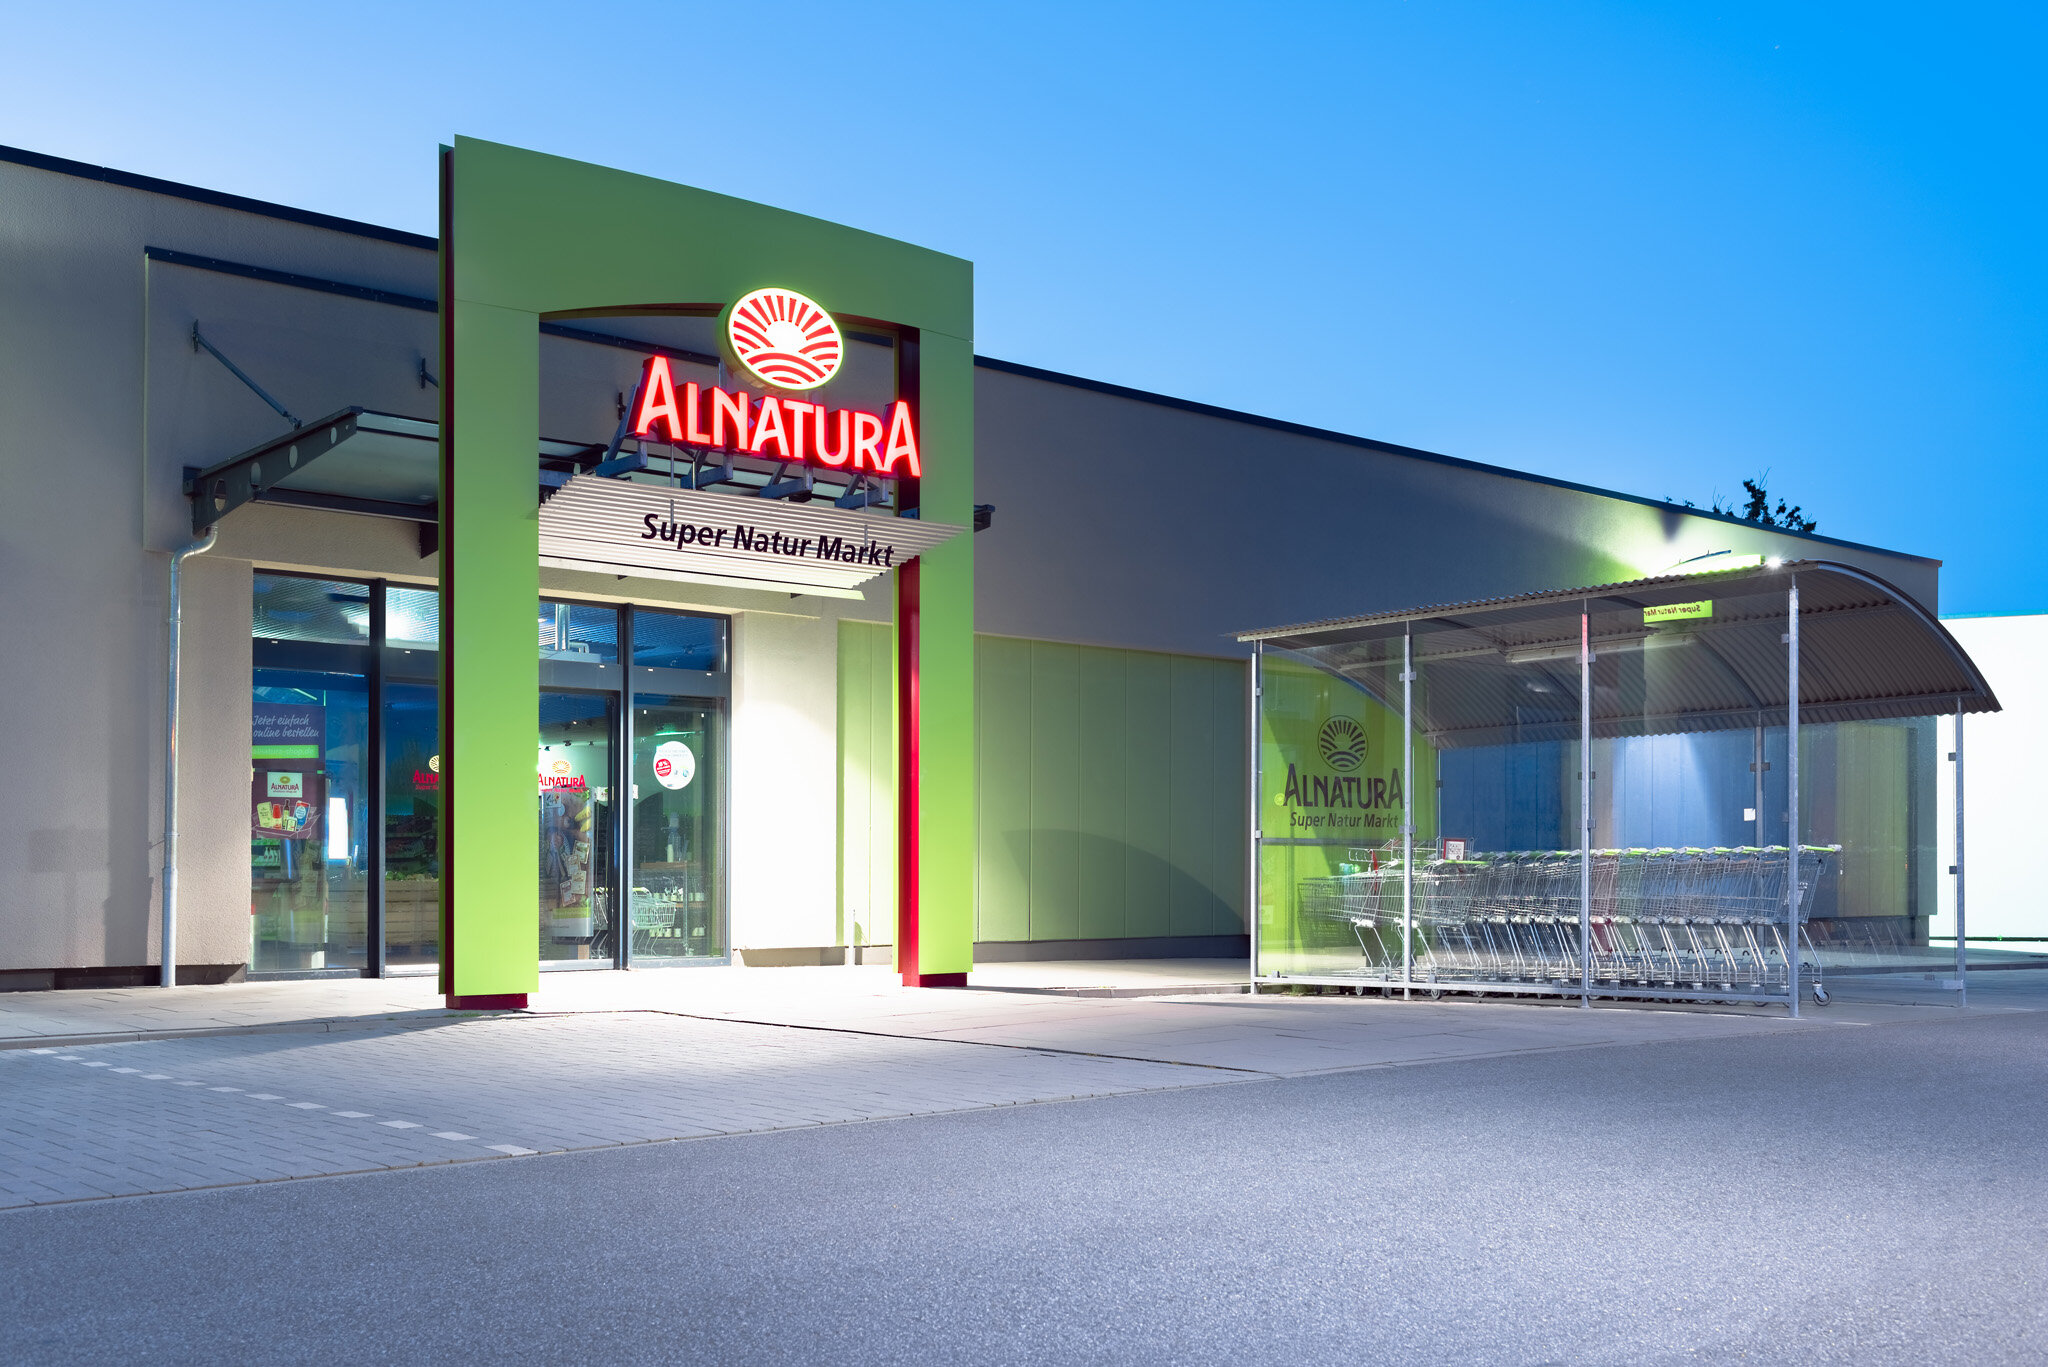
Here the camera does not control anything, the user has to set everything manually. Exposure metering also works in M mode, as usual, but is for information only and has no influence on the parameters. Thus, the greatest control over the image can be expected in this mode. However, it will take a little longer until all settings have been made. Under constantly changing lighting conditions, fast snapshots are therefore more difficult to achieve than with the semi-automatic systems. For complex situations, however, the M mode is better suited to capture them successfully. For example, within a star-studded night-sky, it is not possible to photograph the Milky Way using an automatic function. But even nighttime architectural shots will not provide satisfactory image quality with the automatic systems. In contrast, in manual mode it is relatively easy to achieve an almost perfect and high-quality result with a little practice.